Thai Chicken Pizza

Have you ever craved pizza and Thai carry out? At the same time?…right, me too. Whether the idea of both sounds good or bad to you, I highly recommend at least trying this recipe. I know, I know – there is a version at that chain pizza place named after a West coast state’s kitchen, but I do believe this pie is so much better. I used a pizza dough that takes about 3 seconds to make, 2 1/2 hours to fully rise and be ready to use, and can be found on Smitten Kitchen’s site.

Making the pie easier to assemble, I replace the tomato layer with a pre-made peanut sauce found at Whole Foods (365 Brand) in the Asian foods section. It’s absolutely delicious and not half bad for you. I’m sure there is a fairly easy recipe for the sauce, but since I make the pizza dough its one or the other on a work night. I dotted our pizza with finely diced red peppers, onions sautéed with some olive oil and garlic, a little diced chicken, fresh basil and red chili pepper flakes. Finish it off with a squeeze of lime and you’ll have a sweet, spicy, nutty and fresh pizza.

Thai Chicken Pizza

Ingredients:

  • 1 recipe pizza dough
  • 1/2 cup finely diced red pepper (about 1/2 a medium pepper)
  • 1 cup diced cooked chicken breast (about 1 breast)
  • 1/3 cup finely diced red onion
  • 1 teaspoon crushed garlic
  • 1 teaspoon olive oil
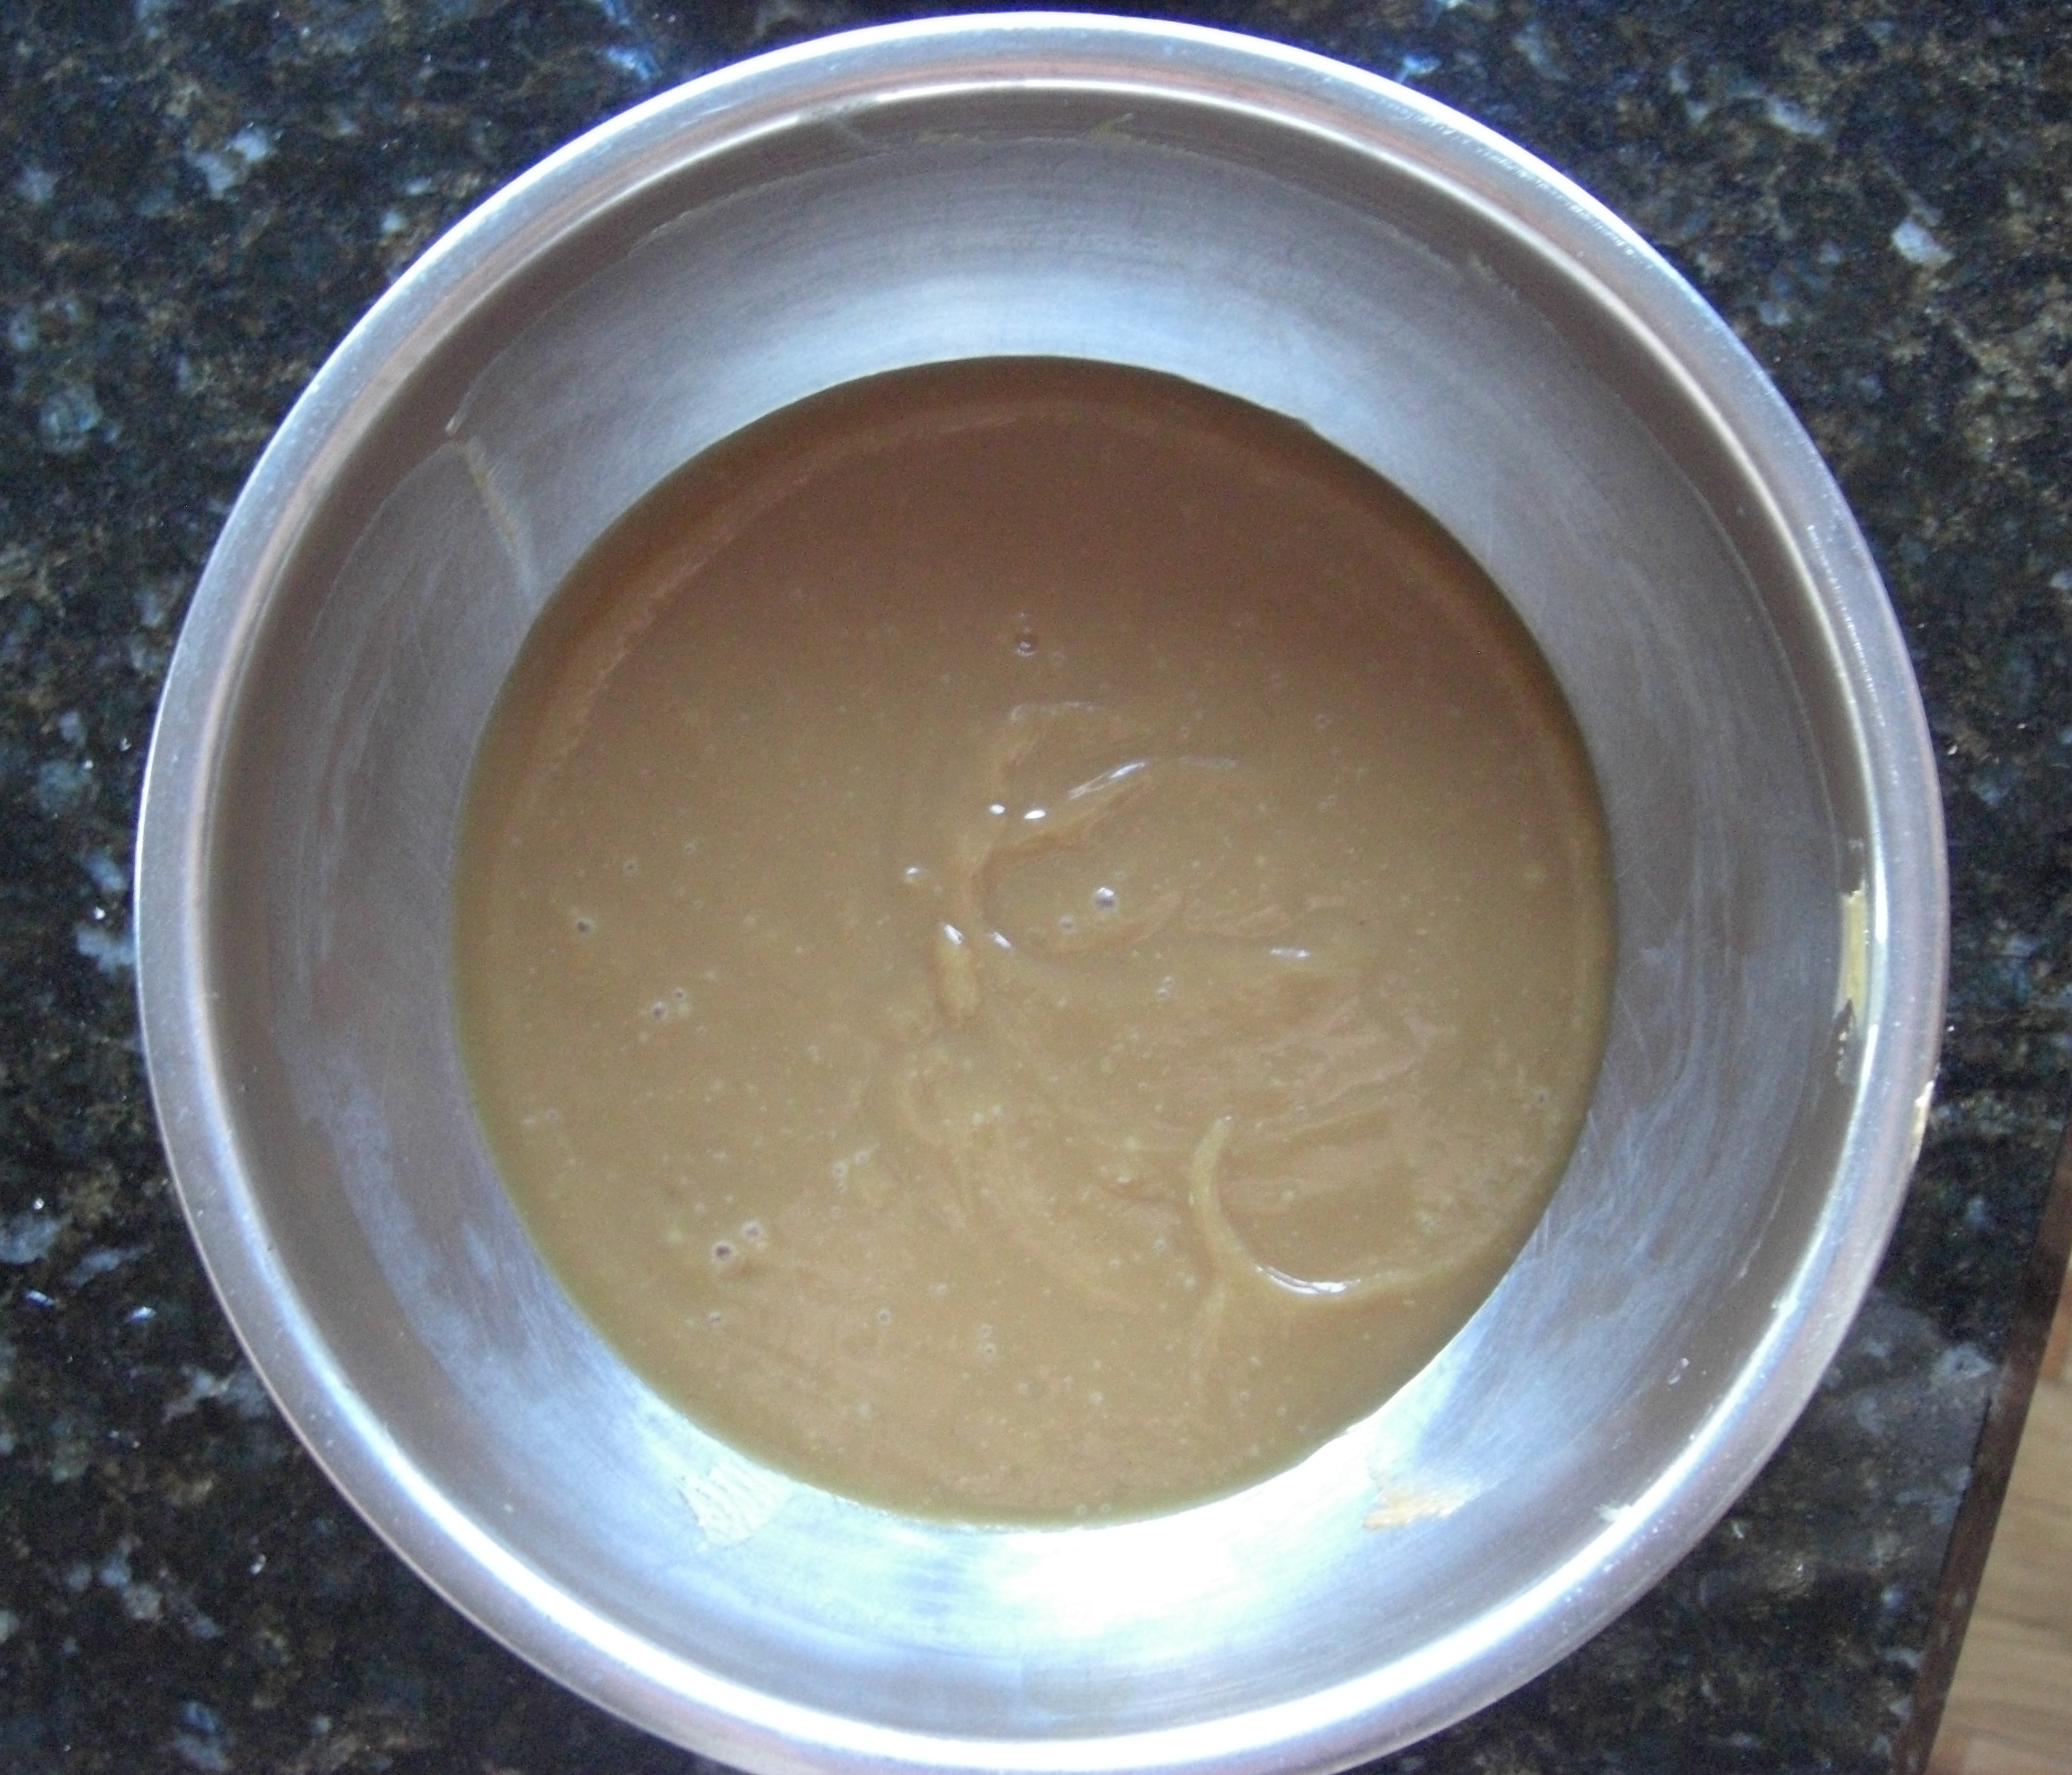
  • 1/2 cup peanut sauce
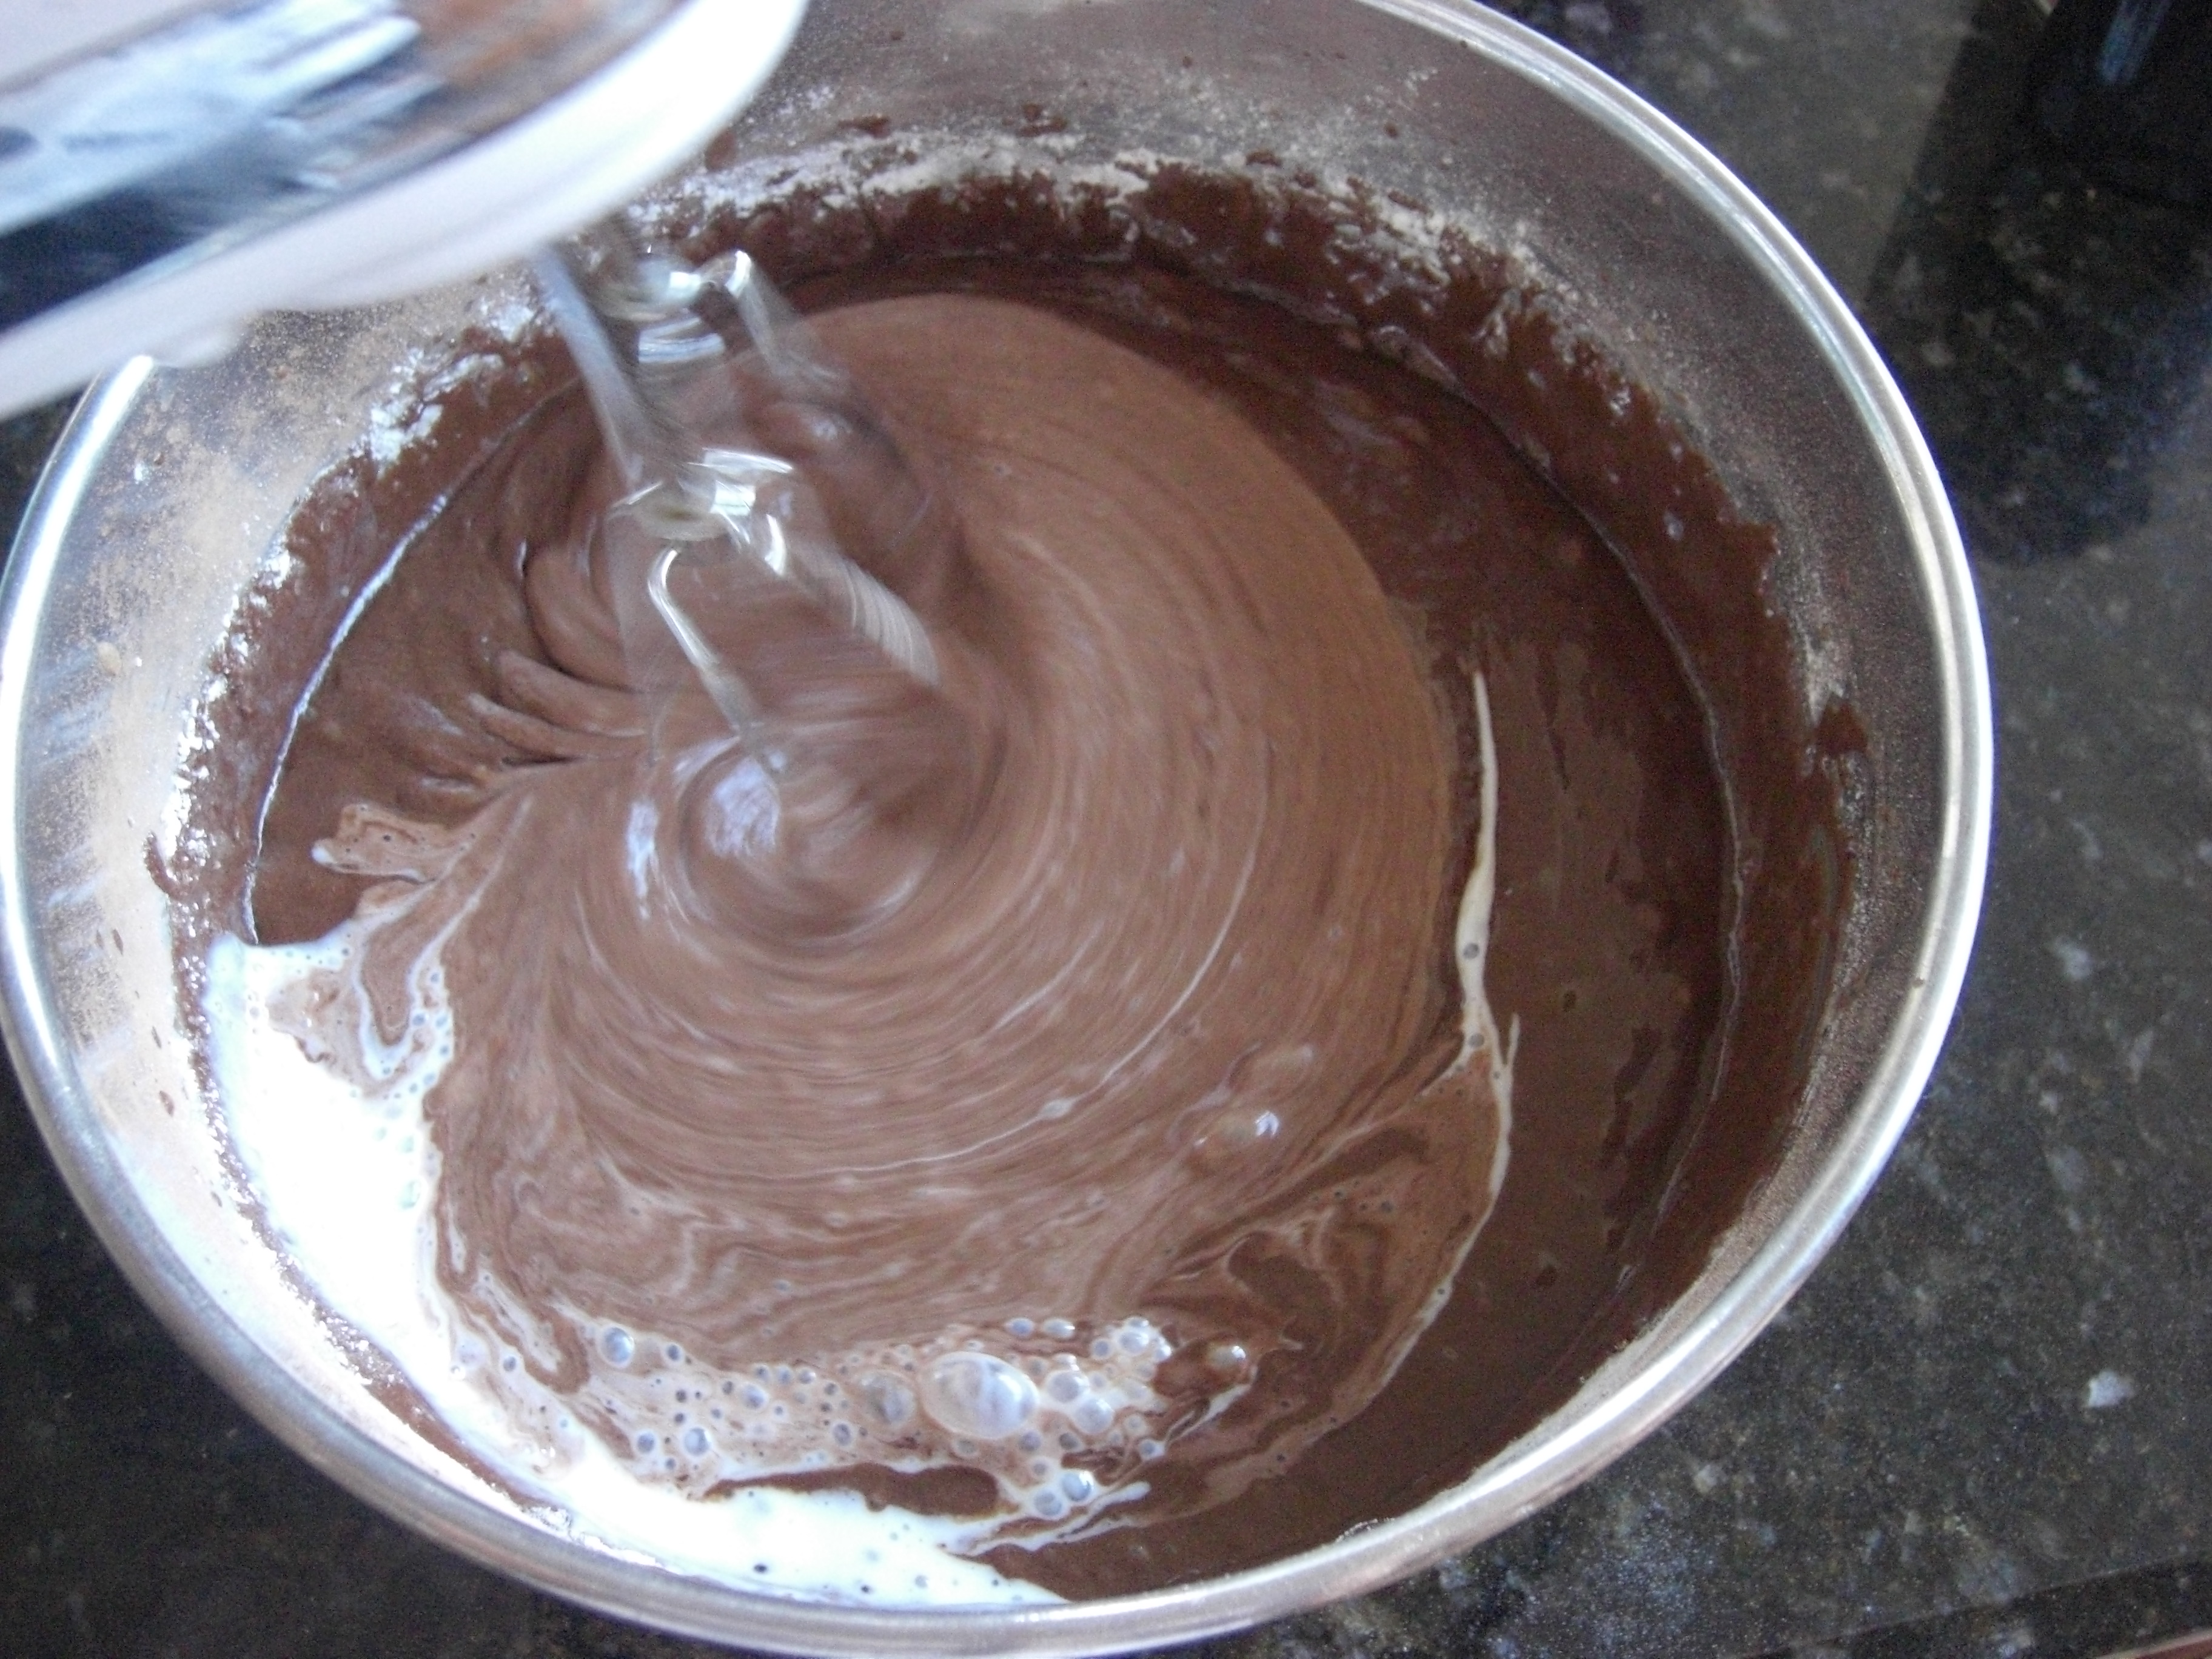
  • 3 tablespoons hoisin sauce (optional)
  • couple shakes of red chili pepper flakes or to taste
  • 2 tablespoons chopped fresh basil
  • squeeze of a lime (optional)

How To:

Saute onions and garlic in olive oil until translucent – about 5 minutes. Set aside. Roll out pizza dough and place on pizza stone or baking sheet. Top with peanut sauce and layer with a drizzle of hoisin sauce. Top with diced chicken breast, red pepper, cooked onions and garlic mixture, and chopped basil. Sprinkle pizza with red chili pepper flakes to taste. Bake at 400 degrees for about 15 minutes or until crust is lightly golden. Squeeze a 1/2 lime or full lime over pizza before serving.

Sweet Potato Salad

I’ve tried to express my sweet potato obsession before, and if those messages (recipes) didn’t get across hopefully this one will. Most of us have had potato salad in one form or another. Potatoes are a blank palate but have a great texture and are fun to play with by adding new flavors, other textures, and colors. Of course when thinking of potato salad the idea of sweet potato salad came to me because sweet potatoes are my favorite potato ever. Then I came to the realization I had never tasted a sweet potato salad and that fact alone was enough to scare me into action.

What goes well with sweet potatoes? I’ll tell you! Honey. What goes well with honey? I’ll tell you that too! Mustard! So putting two and two together, and fully acknowledging I was making a potato salad after all, I made mayo be the base for my sweet potato honey mustard salad.  Adding in some apple cider vinegar and a lil’ salt and pepper, some chives and dill and you have yourself the most delicious most addictive potato salad ever. Addicting to the point where you may make it twice in one week.

Sweet Potato Salad

Ingredients:

  • 6-8 sweet potatoes (if small, 8, if medium, 6)
  • 1/2 cup diced onion
  • 1 cup mayonnaise
  • 1/3 cup Dijon mustard
  • 3 tablespoons grainy mustard
  • 2 tablespoons honey
  • 2 tablespoons minced chives, plus more for garnish
  • 1 tablespoon fresh dill, minced
  • 4 tablespoons apple cider vinegar or white vinegar
  • salt and pepper to taste
  • 3 hard-boiled eggs (optional)

How To:

Peel and cut sweet potatoes into halves or fourths. Boil sweet potato chunks until easily pierced with a knife. Let cool and cut into big dice. Add diced onions. In a medium bowl, mix together 1 cup mayo, Dijon mustard, grainy mustard,  honey, chives, dill, and apple cider vinegar or white vinegar. Season with salt and pepper to taste. Let chill for several hours. When ready to serve, chop eggs and sprinkle on top with additional chives if desired.

Roasted Sweet Pepper Soup

Before I opened the box I knew – probably tipped off from the mere weight of it- it was the dutch oven I’d been waiting for. I basically cooed like a mezimirized child at the shiny yellow pot with matching lid as if it was the coolest, most amazing new toy ever.


And really, it is. Then the inevitable happened, which is me asking myself repeatedly why I waited to get one as a gift when I could have gone out and bought one. Oh right, they are a couple hundred dollars but dare I say they are worth every last penny?  I do say it. They are worth it if you can spare the extra cash. And nowadays you can pick up a cheaper model at Macy’s and they will  most likely do the job. There is one reason I’m so happy to have gotten my dutch oven as a gift – everytime I use it, I’ll be thinking of those nice people who gave it to me (us…I’m going to be honest, it’s mine). Granted I still have to meet them, but the gifters are awesome in my book.

Dutch ovens have been around for hundreds of years, so my exclamation can not be considered new or unique. But if I can convince one more person to run out and buy a cast iron casserole pan (or demand it from someone asap), I’ll be a happy cook. Now about the soup. This easy, basically two-step soup takes minimal time to make and tastes so delicious- creamy, perky, and fresh. I say perky because the peppers give a little oomph you wouldn’t necessarily find in a tomato soup. I think its the perfect addition to a spring menu, topped with a dollop of creme fraiche and some chives.

Roasted Sweet Pepper Soup

Ingredients:

  • 1 medium sweet onion, chopped
  • 4 garlic cloves, minced
  • 1 teaspoon olive oil
  • 5 roasted yellow or red peppers (or a combo), sliced
  • 1 quart plus 1 1/4 cups low-sodium chicken or vegetable broth
  • 1 large potato, chopped
  • 1 tablespoon fresh oregano, chopped
  • salt and pepper to taste
  • creme fraiche or sour cream for serving
  • fresh chives for serving
  • shredded Monterrey Jack cheese for serving

How To:

Heat olive oil in a large stockpot or dutch oven. Add chopped onion and garlic. Let saute over medium heat for about 5 to 7 minutes, or until onions are transleucent. Add peppers, broth, potato and oregano. Cook for 10 to 15 minutes, or until potato is soft.

Puree in a food processor or blender in batches. Place back into stockpot and heat through. Season to taste. Serve with creme fraiche or sour cream and chives, or shredded cheese (such as Monterrey).

Bran Muffins

On some mornings, you really need an excuse to get out of bed. While bran muffins may not sound so interesting and delicious, the smell of this recipe baking in the oven is enough to bring the deepest sleeper to consciousness. At the very least they can sleep walk their way into the kitchen and if they are really talented (or on ambien), sleep-eat.

I added raisins and chopped dried dates to my batch because I like a punch of sweetness first thing in the AM. Bran muffins can also be so-so unless there are some added ingredients of interest. You can get away with using one box of bran cereal, although the recipe calls for two different types. If you aren’t a normal bran eating person, why buy two boxes of bran cereal?

Finally, don’t eat more than several of these in one day. They contain a lot of bran…

Bran Muffins

Ingredients:

  • 5 cups flour
  • 3 cups white sugar minus 2 tablespoons
  • 1 cup plus 2 tablespoons oil
  • 5 teaspoons baking soda
  • 1 teaspoon salt
  • 4 cups kellogg’s all bran
  • 2 cups kellogg’s bran buds
  • 2 cups boiling water
  • 4 eggs, beaten
  • 1 quart (4 cups) buttermilk

How To:

Pour water over Bran Buds and let set. Mix oil, sugar and eggs. Add milk. Stir until well combined. Add Kellogg’s All Bran. Sift flour, baking soda and salt. Combine with creamed mixture. Fold in soaked bran.

Bake in greased muffin tins for 15-18 minutes at 400 degrees. You can also keep the batter for up to 6 weeks tightly covered in refrigerator. Leave space at top of container as batter may grow.

Peanut Butter Swirl Brownies

I need to clarify. These brownies, a.k.a. heaven squares, also have caramel in them. It’s a trick I learned from a chef on the Food Network. If you mix the peanut butter with caramel, it has this amazing texture and literally makes you weak in the knees. Especially when combined with chocolate.

Quite seriously they are the epitome of ridiculousness in the brownie world. They combine several awesome flavors: caramel, chocolate, and peanut butter, which really means they have no choice but to be outstanding. It’s in their DNA (er…their ingredients).

I made myself give them away to friends because they were out of control in my house and would have suddenly disappeared. However, they are not to be missed so get baking!

Peanut Butter Swirl Brownies Adapted from Bobby Flay

Ingredients:

for the peanut butter caramel

  • ½ cup heavy cream
  • ¼ cup sugar
  • ¼ cup water
  • ½ cup smooth peanut butter
  • 1 tablespoon light corn syrup
  • Pinch of salt
  • 1/8 teaspoon vanilla extract

for the brownies

  • 1 cup (2 sticks) unsalted butter, cut into small cubes
  • 5 ounces high-quality unsweetened chocolate, coarsely chopped
  • 2 ounces bittersweet chocolate, coarsely chopped
  • 1 teaspoon instant coffee crystals
  • 4 large eggs
  • 1 ½ cups granulated sugar
  • 1/2 cup packed light brown sugar
  • 2 teaspoons vanilla extract
  • 1/4 teaspoon salt
  • 1 1/4 cups all-purpose flour
  • 2 ounces semisweet chocolate, coarsely chopped

How To:

Pour cream into a small saucepan and heat to a simmer over low heat. In a separate saucepan (small or medium), combine the sugar and water. Cook over high heat without stirring until deep brown. This takes about 10 minutes, but watch the mixture so it doesn’t burn. It is a short time between colors. Once you acheive the right color, whisk in the warm cream until smooth and cook for 1 minute. Remove from the heat to whisk in the peanut butter, corn syrup, salt and vanilla extract until smooth. Pour into a clean bowl and let cool until thickened at room temperature, about 1 hour/ You can also place it in the refrigerator to chill for 30 minutes. Mixture will turn to caramel.

For the brownies, preheat the oven to 325 degrees. Line a 9-by-13-inch baking pan with parchement, leaving an overhang on two sides. Spray parchement with non-stick spray.

Combine the butter, unsweetened chocolate, bittersweet chocolate and instant coffee crystals in a double boiler (or place a glass bowl over a saucepan of simmering water) over low heat to melt. Stir mixture until smooth. Remove from heat and let cool for several minutes.

In a large bowl whisk eggs, both sugars, vanilla extract and salt until smooth. Add in the melted chocolate mixture while whisking until smooth, making sure to scrape down sides of bowl with a rubber spatula. Add the flour in two additions (the batter will be thick). Stir in the semisweet chocolate chunks.

Place half of the batter into the pan and smooth the top. Drop tablespoons of the peanut butter caramel mixture every few inches over the top of the batter. Add remaining batter on top and smooth over the caramel dollops. Dot remaining caramel over the top. Using a knife, swirl the caramel into the batter to get the marbled effect. Bake for 35 to 40 minutes. The top should be set but still soft; a cake tester will come out a bit gooey. Cool in pan for a few hours.

The brownies can be stored in an airtight container at room temperature for 3 days or can be frozen for a few weeks.

Mediterranean Tuna Noodle Salad

Just like people who wear shorts when it hits 50 degrees for the first time since last fall, I excitedly make summery meals of pasta and a dressing- this past week’s fix- when it was 60 degrees (now its 30 and snowing..its March 20, the “first day of spring.” Right.)- was a Mediterranean spin on traditional tuna noodle salad. May I just say it got me enthusiastically hoping for spring and summer, which I am certain is right around the corner. And to clarify, I was not dressed in summery attire while cooking or at any point of the day.

My mother makes her tuna noodle salad with seashell pasta or conchiglie. Not that it’s necessarily a bad thing, but I prefer to use a less themed approach in my version. I use rotini because it grabs onto sauce and also looks lovely while doing so. This post was written as a celebration, but is now a plea to mother nature to bring back spring. Pretty please? Look at what a fantastic salad I can make with a little warm weather inspiration.

Mediterranean Tuna Noodle Salad

Ingredients:

  •  10 ounces pasta
  • 3 cans tuna (in spring water), drained
  • 1 cup mayonnaise
  • 1/2 cup sour cream
  • 1/2 cup finely diced green pepper
  • 1 to 2 roasted sweet red peppers, finely diced (from a jar)
  • 1/2 cup crumbled feta
  • 1 can sliced black olives (or olive of your choice, kalamata could be amazing)
  • 1/2 cup finely diced sweet onion
  • juice from a lemon
  • 1/4 teaspoon garlic salt
  • 1/2 teaspoon seasoning salt
  • ground black pepper

How To:

Boil 6 cups water in a large saucepan. Add pasta and a pinch of salt. Cook 8-10 minutes or until it has a slight bite. Drain and set aside.

Mix together tuna, mayonnaise, sour cream, and rest of ingredients until well blended. Add pasta and stir to coat. Chill for about 30 minutes to 1 hour – or up to a day. Serve on leaves of romaine.

Vanilla Cupcakes with Chocolate Buttercream Frosting

Happy March everyone! I’m here to celebrate with cupcakes – the very best vanilla cupcake recipe, all buttery and sweet with chocolate buttercream made using cocoa, which gives it the best flavor.  It’s almost milk chocolatey but just a bit richer. And what’s better than a cupcake? A cupcake with a flower on it.

Hopefully we will be seeing some real flowers soon. But for now, the sugary kind will do. For instructions on how to make lovely icing flowers, I recommend this video. There are so many instruction videos on buttercream roses on youtube. You can become a pro in no time.
I really have to stress the deliciousness of the chocolate buttercream frosting. It’s amazing to the point where you will wonder how you are ever going to frost all the cupcakes you’ve made without licking the bowl clean. Just keep in mind the thought that frosting “makes me so sick if I eat too much.” Hopefully that will keep you in line…who are we kidding. Just enjoy it.
Vanilla Cupcakes with Chocolate Buttercream Frosting
Ingredients:
for the vanilla cupcakes:
  • 1 1/2 cups self-rising flour
  • 1 cup all-purpose flour
  • 2 sticks (1 cup) unsalted butter, softened
  • 2 cups sugar
  • 4 eggs, at room temperature
  • 1/2 cup milk
  • 1/2 vanilla bean, seeds only or 1 teaspoon vanilla extract  

for the Chocolate Buttercream Frosting

  • 6 tablespoons unsalted butter
  • 1 cup confectioners’ sugar
  • 2 teaspoons unsweetened cocoa
  • 2 to 3 tablespoons milk

How To:

Preheat oven to 350 degrees.   Line two muffin tins with cupcake papers.

In a large bowl, cream together the butter and sugar.  Continue to beat until fluffy. Add the eggs, one at a time and beat well after each addition. Add the flour in three parts, alternating with the milk and vanilla, ending with the milk. Do not overbeat. Scrape down the batter in the bowl with a rubber spatula, making sure all batter is incorporated. Carefully spoon battter into the cupcake liners, filling them about 2/3 full. Bake for about 20–25 minutes- insert a  cake tester, and if it comes out clean cupcakes are done. Do not overbake! Cool the cupcakes in the muffin tins for 10 minutes. Remove and let cupcakes cool completely on a wire rack before frosting. 

For the frosting, cream the butter on low to medium speed in a medium bowl. Combine the sugar and cocoa and add to butter. Whip until combined. Starting with about 2 tablespoons, add milk to butter mixture slowly, until you reach desired spreading consistency.  Add by tablespoons. Spread onto cooled cupcakes. You can also use a pastry bag to frost cupcakes.

Chicken Tacos

I’d like to discuss taco night and why it is such a good idea. It’s end of February, the weather is less than desirable where I am (Chicago), and just the idea of margaritas gets a smile of my face. What makes me giggle with joy? A little fiesta with said margaritas, chips and guacamole, tacos, and a wide array of fixins’. Now we have a party and an oasis from snow and sludge.

When I was 5 my family went on a vacation to Cancun. This was back in the 80’s when Cancun was just starting its rise to teenage vacation stardom, so it was an authentic gem. Apparently each evening I would abruptly fall asleep at the table, before dinner came out. I was so exhausted from days in the sun, I quite literally passed out (clearly I didn’t have the typical Cancun experience on that vacation but somehow ended up in the same boat at the end of the night as so many other vacationers). I really have to wonder how it was possible when I have always had a real adoration for mexican food. I can’t bear to think of the many tacos I left untouched, sitting just a few inches in front of my sleepy self.

But I digress and need to get back on point – tacos are an amazing treat sure to change winter blues into happy moments. Turn your thermostat up to 80, put on some shorts, sip a margarita, and serve up a batch of tacos when you can’t count on the weather outside. Silly? Yes. Will it make you feel better? Yes, and that’s all that matters.

Chicken Tacos

Ingredients:

  • 1 tablespoon olive oil
  • 1 pound ground chicken (I used ground chicken breast but you can use gound thigh or a mixture)
  • 1 diced onion
  • 1/4 cup water
  • 8 tortillas of your choice – flour or corn
  • 1 1/2 cups shredded lettuce
  • 2 diced tomatoes
  • 1 diced red onion
  • 1 cup shredded cheese
  • 1 cup canned black beans, rinsed
  • fresh salsa
  • guacamole or diced avocado
  • taco spice mix (below)

Taco Spice Mix: can be made ahead and stored with your spices

  •  1 tablespoon chili powder
  • 1/4 teaspoon garlic powder
  • 1/4 teaspoon onion powder
  • 1/4 teaspoon dried minced onion
  • 1/4 teaspoon red pepper flakes
  • 1/4 teaspoon oregano
  • 1/2 teaspoon paprika
  • 1 1/2 teaspoon ground cumin
  • 1/4 teaspoon cayenne pepper or to taste
  • 1/2 teaspoon seasoning salt
  • 1/2 teaspoon sea salt
  • 1 teaspoon black pepper

How To:

Heat 1 tablespoon oil in a large saucepan. Add ground chicken and diced onion. Cook until chicken is no longer pink and onions are soft. Add seasoning mix and 1/4 cup water. Continue to stir until seasoning over all of chicken and onions. Cook over low heat for 10 minutes.

Serve in tortillas with toppings on the side…with chips and guacamole…with margaritas.

Doggy Cake


So I’ve been a bit deliquent in regards to posting lately because I was busy preparing for this past Monday – which was “bake the doggy cake day.” It was my fiance’s birthday and I felt it necessary to bake a cake inspired by our dog. I’m not joking, as you can see by the pictures (oops, it is a little blurry).

The Doggy Cake was really just a challenge, to see if I could actually create an edible adorable cake that looks like our dog. I’m pretty sure I succeeded, and the cake was declious on top of it. It is a combination of pound cake and regular cake.  I used a box mix for the yellow portion because I couldn’t bring myself to use another stick or two of butter, since pound cake uses enough on its own. I also changed up the pound cake so I didn’t feel quite as guilty.

The batter needs to be stiff so that it both stays in the cake mold, and so it stand on its own and doesn’t want to keel over.

Finally I used my Nana’s buttercream frosting recipe. There really is no other, and the taste of it brings me back to my 4th birthday, just like this cake should bring back my fiance to his.  In a good way.
Doggy Cake

This recipe requires a 3-D cake mold and a #233 tip for a decorator’s icing bag. I purchased mine from wilton.com.
for the cake: pound cake adapted from Smittenkitchen.com

  • 1 box yellow cake mix
  • 3 sticks unsalted butter
  • 1/2 cup light sour cream (can use regular)
  • 8 eggs, room temperature
  • 1/2 vanilla bean
  • 2 cups sugar
  • 4 cups all-purpose flour
  • 1 teaspoon salt
  • 2 teaspoons vanilla extract

for the frosting

  • 1 container white decorator’s frosting by Wilton (or the like)
  • 1/3 cup crisco
  • 1/2 cup unsalted butter (1 stick), room temperature
  • 1/3 cup superfine sugar
  • 1 egg white
  • 1/4 cup milk
  • 1/4 teaspoon vanilla

How To:

First, the cake – preheat oven to 350 degrees. Spray 3-D cake mold with nonstick spray and place on baking rack.

Using a food processor, grind vanilla bean and sugar until very finely chopped and there are few vanilla bean chunks. Sift sugar and vanilla bean mixture to make sure you don’t have any large pieces. Set aside.

Cream the butter with an electric mixer in a large bowl. Gradually add the vanilla sugar, beating until smooth. Add sour cream then the eggs one at a time, beating well after each addition. Gradually add the flour and salt. Add the vanilla extract and make sure mixture is well well blended.

Mix yellow box cake according to box directions. Add to pound cake batter and mix until just combined. Pour 6 1/2 cups of batter into 3-D mold (could be different based on mold used) and bake for 50 minutes to 1 hour. Do not over bake. Take cake out of oven and let cool for 5-10 minutes. Now, carefull take front piece of mold off to let steam escape. Place back gently and remove back piece of mold to let steam escape from the back. Replace and sit cake upright, with cake molds still in place for another 15 minutes. Now take off mold and let cake cool for at least 1 hour.

For the frosting, cream crisco and butter until light and fluffy. Pour milk in a small saucepan and set over low heat. You want to scald the milk, getting it very hot without burning it. Gradually add the sugar, beating it thoroughly. Add egg white and vanilla all at once, beating until well combined. Gradually add in the scalded milk while it is still hot – this is necessary in order to dissolve the sugar. Add food coloring of choice and beat until fluffy and until sugar is dissolved – possibly 5 minutes.

Take out 2 tablespoons of decorator’s frosting and place into a very small bowl. Mix with black food coloring and a splash of extract for flavoring (I use butter flavor by Wilton). Place into small ziploc and set aside. Nest mix decorator’s frosting to make it spreading consistency. I add butter flavoring (you can also use vanilla or almond extract) and add food coloring of choice, mixing to create even color. Place frosting into piping bag with #233 tip. Set aside. Spread buttercream frosting on dog cake as a base layer. With black frosting in ziploc, create little eyes and a little nose, along with a mouth and some paws if desired. Next, pipe out hair-like pieces all over cake with decorator’s frosting in the large bag. This will take some time, but the result is worth it!

Chocolate Cupcakes With Creamy Hazelnut Frosting

It’s been years now that I’ve spent researching chocolate cake recipes. I know, what a hard task, you say. I am not a chocolate person by nature, so this whole research thing proved a bit difficult and required many taste testers.

And it only took years because I can’t make chocolate cake every day for consecutive weeks. I couldn’t, that is, until I happened upon this recipe.

Recently an occasion arised (it was the superbowl) and I found myself all for the dark stuff (chocolate). I needed dark cupcakes in gold foil wrappers with little fleur de lis, not because I am a full saints fan but because I went to a saints party. Apparently these cupcakes are not only delicious, but also magical as the saints went on to win.

Chocolate cake needs to be moist and devilishly dark and rich.

It needs to be topped with a creamy frosting. If you love nutella then you will love the frosting I used. Who doesn’t want a winning cupcake?

Chocolate Cupcakes with Creamy Hazelnut Frosting

Ingredients:

for the cupcakes:

  • 3/4 cup unsweetened cocoa powder
  • 1 1/2 cups all-purpose flour
  • 1 1/2 teaspoons baking soda
  • 3/4 teaspoon baking powder
  • 3/4 teaspoon salt
  • 1 1/2 cups sugar
  • 1/3 cup vegetable oil
  • 2 large eggs at room temperature
  • 3/4 cup warm water
  • 3/4 cup buttermilk
  • 1 teaspoon vanilla extract

for the frosting:

  • 3/4 cup unsalted butter (room temp)
  • 3-4 cups confectioners’ sugar
  • 1/3 cup milk
  • 1/2  teaspoon vanilla extract
  • 1/2 teaspoon almond extract
  • 1/2 cup nutella or other hazelnut spread

How To:

Preheat oven to 350 degrees. Line standard muffin tins with paper liners.

Sift together cocoa powder, flour, baking soda, baking powder, and salt into a medium bowl. Combine sugar and oil. Add eggs, one at a time. Add warm water, buttermilk, and vanilla and mix until smooth. Slowly add dry ingredients. Scrape down the sides and bottom of bowl, mixing batter until combined.

Fill each muffin cup about 2/3 full and bake for about 20 minutes, or until a cake tester comes out clean. Transfer to a wire rack and let cool completely.

To make frosting, combine butter, 1 cup of the confectioners’ sugar, vanilla, almond extract, milk and nutella in a medium bowl and mix with a hand mixer, slowly adding the rest of the confectioners’ sugar. Beat until light and fluffy, about 2 minutes. Spread onto cooled cupcakes. Makes about 24 cupcakes, enough to share with friends…